What Fits Inside a 20ft Shipping Container? Three Layouts
Plan a 20ft container layout for tools, pallets, or retail stock. Measure door clearance, shelf depth, aisle space, and retrieval access.
Quick answer
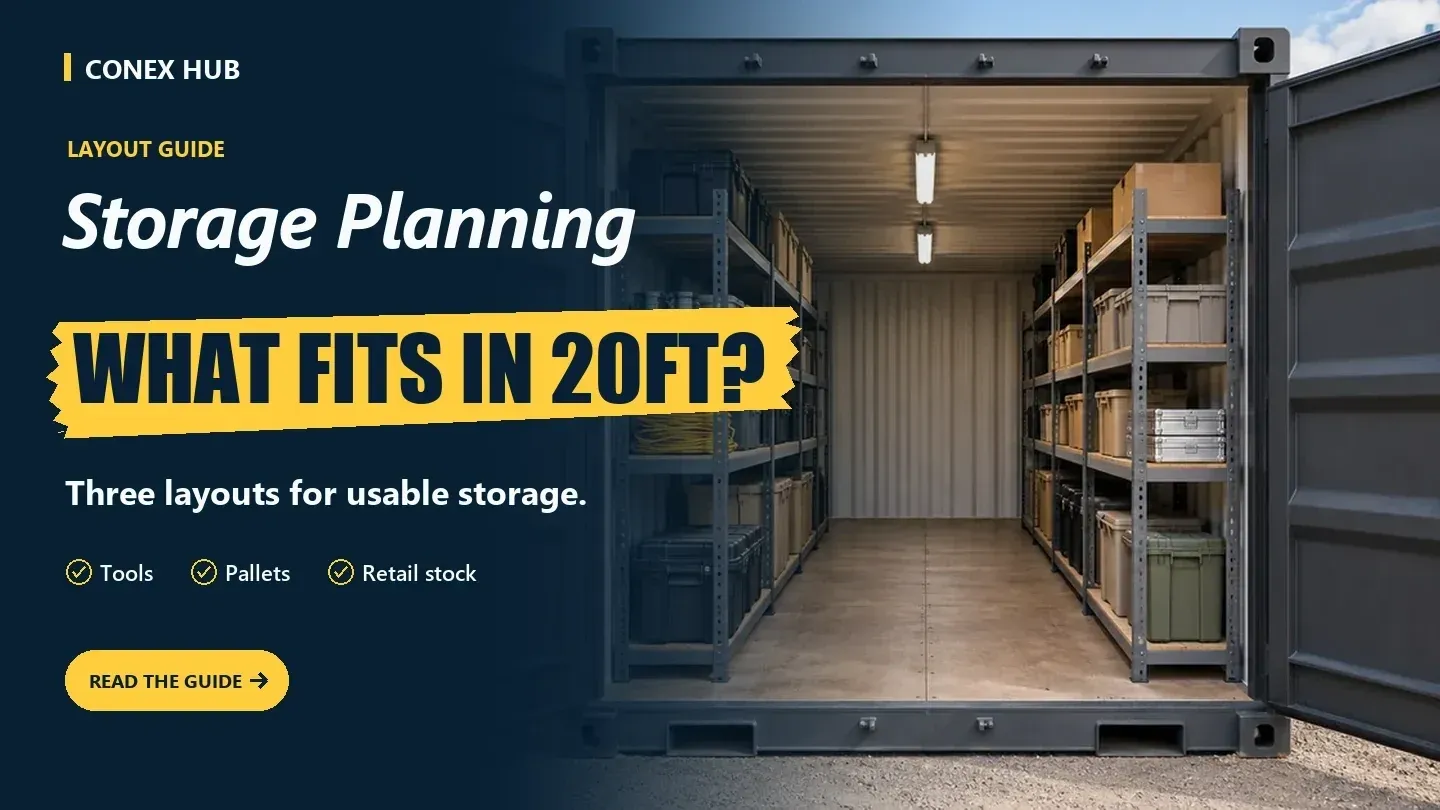
A 20ft shipping container can hold tools, palletized goods, or retail overflow — but the number of boxes it stores is the wrong first question. The usable capacity depends on what can pass through the doors and what your team can actually reach once the unit is loaded. A box crammed to the ceiling that forces you to unstack half of it every morning holds less *useful* inventory than a lighter layout with a real aisle. Start by measuring the largest item and drawing the aisle, then count cartons or pallets. Below are three proven layouts and a quick width test to pressure-check any of them.
Measure the unit and the load
A standard 20ft container is nominally 20 feet long and 8 feet wide on the outside, but you store into the interior, and the interior is smaller — and the clear door opening is smaller still. Use the seller's actual interior measurements and the real door opening for your plan, not the nominal exterior numbers. When you measure the load, include the threshold lip, shelf posts, handles, wheels, and packaging — all the things that make an item wider or taller than its catalog size. If a cart or pallet jack will enter the container, leave room for both the equipment and the operator to turn, because a load that fits statically can still be impossible to maneuver into place.
Layout 1: Tools and equipment
Run shelving along one wall and keep the opposite side flexible for carts, ladders, and longer items that won't sit on a shelf. Put frequently used tools near the doors where crews grab them each morning, and keep heavy objects at a sensible handling height to protect backs and speed up the day. Mark a clear floor lane and test whether your largest single item can enter and be retrieved with the shelves installed — not just whether it fits through the door. Before you outfit the unit, confirm suitable mounting points and any load limits with the supplier, especially if you plan to hang heavy equipment or bolt in a workbench.
Layout 2: Palletized inventory
Draw the actual pallet dimensions, and include any cartons that overhang the pallet edge, since the overhang is what really sets your spacing. Mark the path the handling equipment will travel and leave room at the door for receiving. A standard pallet layout quickly runs into the access problem: if the back pallets can only be reached after moving the front ones, assign the rear positions to goods that can wait and keep active stock up front. For inventory that needs selective access to any pallet at any time, either leave a workable aisle down one side or compare a double-door configuration that opens the far end.
Layout 3: Retail stock and fixtures
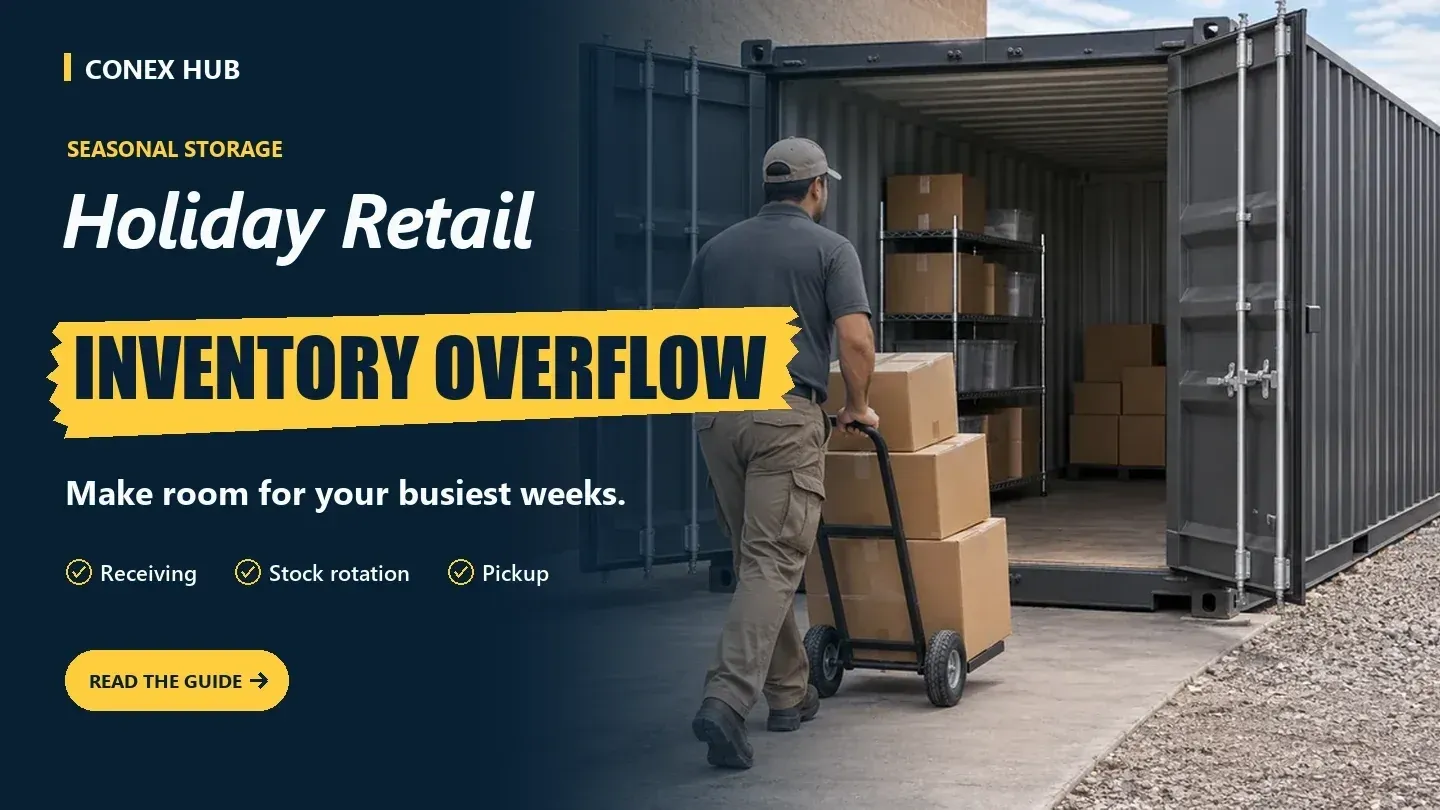
Keep replenishment cartons nearest the doors, organized by department or SKU so associates can grab and go. Use the rear of the container for fixtures, displays, or slow-moving backup stock that you won't touch daily. Set aside a dedicated area for returns so they stay physically separate from saleable inventory and never get re-shelved by mistake. Make a simple map of the layout and post it inside the doors where associates can see it the moment they open up — a thirty-second habit that saves hours across a season.
Run a quick width test
Numbers make the aisle real. Suppose the unit you are considering measures 92 inches wide inside, and your proposed shelves are 24 inches deep on each side. That leaves 44 inches down the middle before you account for shelf posts, carton overhang, or anything staged in the aisle during receiving. Forty-four inches is a comfortable walking aisle but a tight one for a loaded pallet jack, so use that figure to test your actual equipment and workflow, not just to confirm the shelves fit. Often a one-sided layout — shelving on a single wall — makes retrieval far easier even though it offers fewer total shelf positions, because the open side becomes a real working lane.
Test the layout before you install shelving
Before anything is bolted down, mock it up. Use tape to mark the proposed walls, doors, shelving, and aisle on an open floor or a parking lot at full scale. Walk the route with the cart or pallet equipment you actually expect to use, then put a box where you would stage an incoming load and walk it again. If the aisle disappears the moment a receiving load is staged, you have found the problem for the cost of a roll of tape — reserve a dedicated staging zone outside, or revise the shelving plan, before you commit to fixtures.
Record the usable height and depth of each storage position as you finalize the layout. Label the back of the unit for the items you can retrieve last, and keep frequently used stock within the first few steps of the doors. If the plan only works with a different door configuration, note that and share your sketch when you request a quote, so the unit you order matches the layout you designed.
Common mistakes that waste a 20ft container
Three errors account for most wasted space. The first is loading to the ceiling with no aisle, which trades reachable inventory for a number on a spreadsheet. The second is ignoring the door opening and threshold, then discovering the widest item won't cross it. The third is forgetting the receiving stage — the temporary space a new load needs before it's put away — which quietly eats the aisle you planned. Design around all three and a 20ft container holds a surprising amount of genuinely usable, genuinely accessible stock.
How many pallets fit in a 20ft shipping container?
It depends on the pallet dimensions, their orientation, product overhang, and how much access you need. The honest first question is whether you must reach each pallet individually or can unload them in sequence — selective access needs an aisle and lowers the count, while sequential unloading lets you fill the floor. Settle that before you choose a layout or quote a capacity.
When should I move up to 40ft?
Consider a larger unit when the compact layout forces frequent restacking, or when it cannot hold both your inventory and a workable access aisle at the same time. Before you order, verify the delivery clearance and door access for the larger unit, since a 40ft needs a longer truck approach that not every site can give.
Can I add shelving or racking later?
Usually yes, but plan the mounting and load limits with the supplier first. Confirm suitable attachment points and whether the floor and walls suit the loads you intend, so a later upgrade doesn't mean undoing a layout you already built.
Get a quote from Conex Hub
Share your project details, delivery ZIP code, and target date when you request a quote. For more information, see 20ft container inventory.